Large image files can slow pages and make sharing harder. This practical guide shows how to compress JPG, PNG and WebP images with Free1APK's browser-based Image Compressor. You will select a file, choose quality and format, examine an actual before-and-after result and download the output. Your file is processed in the browser rather than uploaded to an image-processing API.
How to Compress an Image Step by Step
Step 1 Choose an Image to Compress
Open the Image Compressor and choose a JPG, PNG or WebP image from your device. One still image is supported at a time, up to 20 MB and 16 megapixels. Note the original file size. Animated images and SVG files are not supported.
Step 2 Choose the Output Format and Quality
Choose WebP under Output format, then enter 80 in Quality (1–100). This is a sensible starting point, not a universal optimum. Lower numbers may reduce detail and introduce visible artifacts. PNG uses lossless encoding and ignores the quality control.
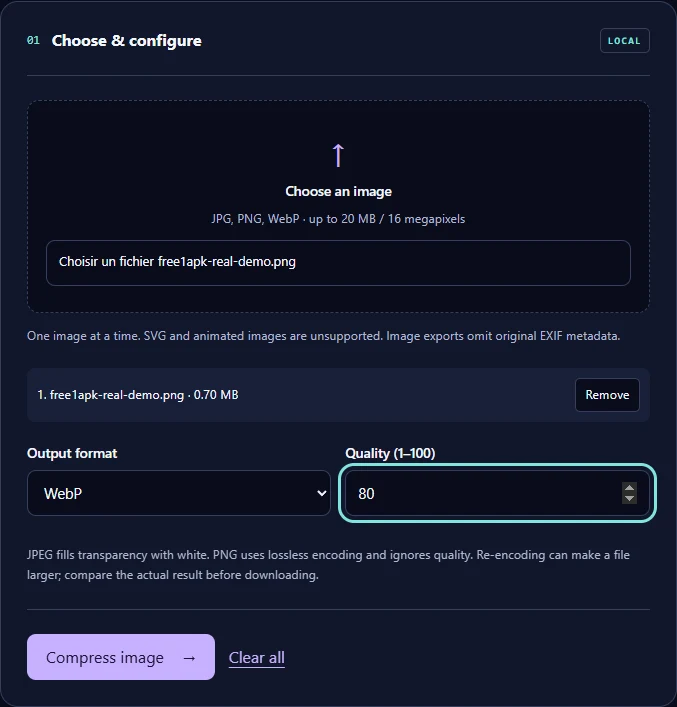
- Choose an image to compress
- Select WebP as the output format
- Set the image quality to 80
- Click Compress image to start processing
Step 3 Compress the Image
Select Compress image and wait for the result panel to appear. The browser re-encodes the image without changing its decoded width and height. Some efficiently compressed originals can produce larger outputs; compare actual sizes instead of assuming savings.
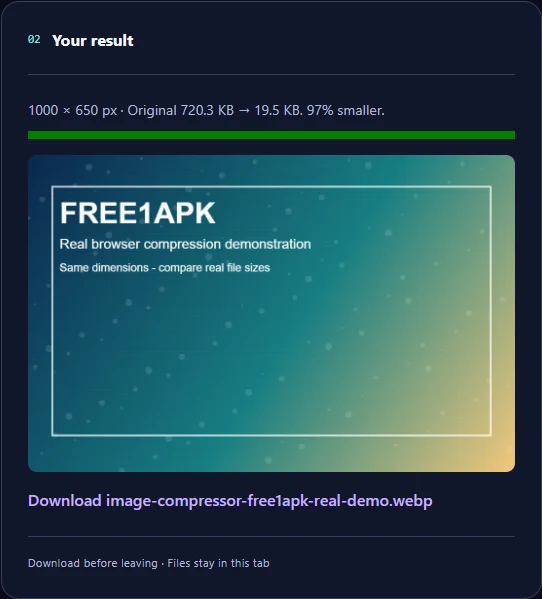
Step 4 Compare the Original and Compressed File
Check the original and output sizes and inspect fine details. In the real automated demonstration used for the screenshots below, the sample decreased by 97% (from 720.3 KB to 19.5 KB). This outcome is not a prediction for your own image. Check text edges, smooth gradients, colors and any visible artifacts.
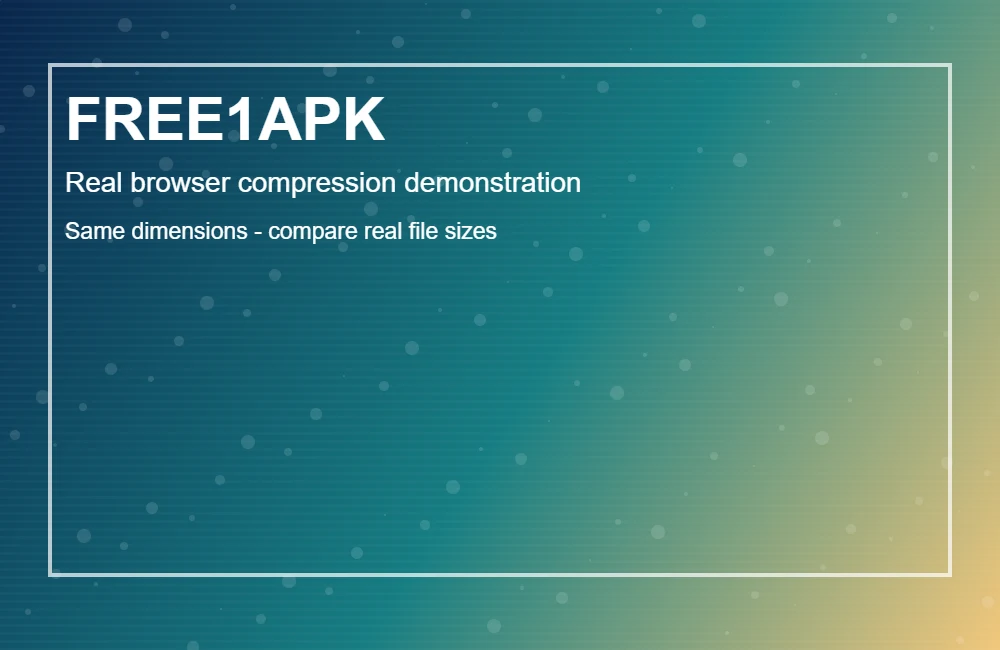
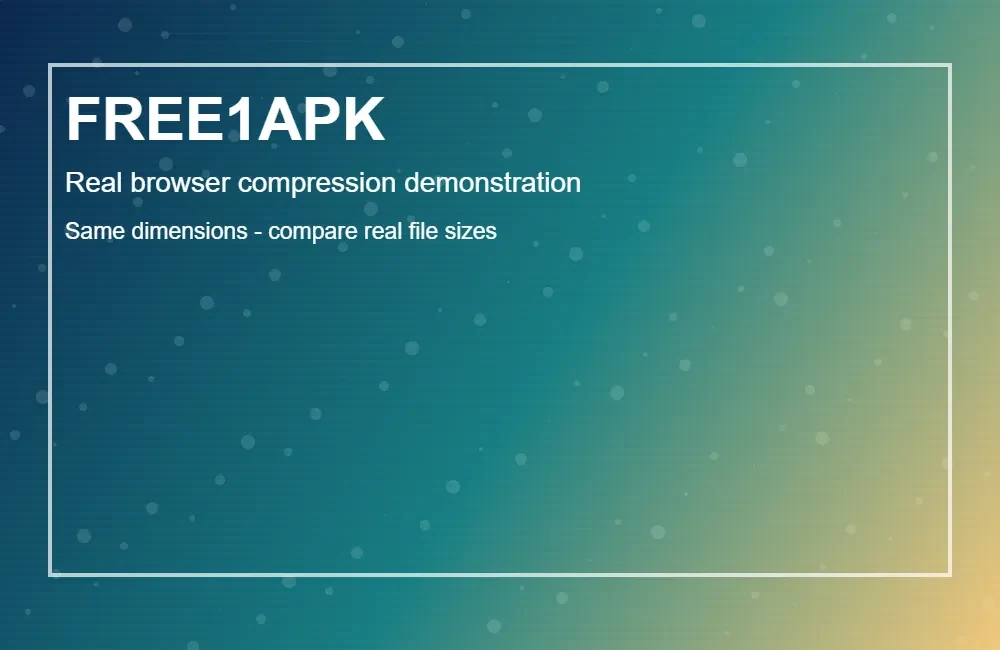
Step 5 Adjust Quality if Needed
If artifacts are too visible, rerun the original at 85 or 90. If the output looks good but is still too large, test 75 or 70. Images respond differently, and there is no setting that guarantees the smallest file with no visible quality loss.
Step 6 Download and Verify the Image
Download the output from the result panel. Open it locally, check that transparency, text and other important details are acceptable, and keep the original separately. Files and downloads are not retained when you leave the browser tab.
Which Format Should You Choose?
WebP is often a useful choice for website images and photographs. JPEG is widely compatible and suits many photos, but this tool fills transparent areas with white when exporting JPEG. PNG is a lossless option for transparency or sharp graphics, although the resulting file may be larger. Test the format against the intended destination.
Quality, Privacy and Common Mistakes
Frequently Asked Questions
Does quality 80 mean an 80% reduction? No. The quality value controls an encoder setting, not the percentage saved. Why did the output get larger? The original may have been efficiently compressed already, or the selected format may be inefficient for its content.
Does compression resize an image? No. Image Compressor keeps the decoded dimensions. Use Free1APK Image Resizer if you need a different width or height. Does it support animation or SVG? No. Use still JPG, PNG or WebP images within the listed limits.
Try the Real Image Compressor
Use the working Image Compressor below to test your own image directly in the browser. Start with WebP at quality 80, inspect the real file-size change and visual quality, and download a result only when it meets your needs. The sample shown above is an actual local tool run, not a guaranteed compression benchmark.